While, you have studied the Pre-migration Analysis, Settings, Migration Process in earlier parts, the concluding part includes all the post migration jobs which users can utilize for their benefits.
Let us understand how to perform and utilize these post-migration jobs further in this section.
- Step by Step Guide for Migrating Office 365 to Office 365 Tenant Part-1
- Step by Step Guide for Migrating Office 365 to Office 365 Tenant Part-2
- Step by Step Guide for Migrating Office 365 to Office 365 Tenant Part-3
Post Migration Jobs
The jobs that user can perform after successful Office 365 to Office 365 migration are designated under –
- Outlook Rules Migration
- Outlook Folder Permissions Migration
- Report Console
Let us go through the functions and understand their use one-by-one.
Outlook Rules Migration
Once the migration of Office 365 to Office 365 is completed, you can directly migrate Outlook Rules for Source to Target client using this tool.
Note: Before performing Outlook Rules migration procedure, confirm that Job Synchronization process is Stop. If ignored, it would hinder the start of Outlook Rules migration job.
Now, carry on the job with following steps one-by-one.
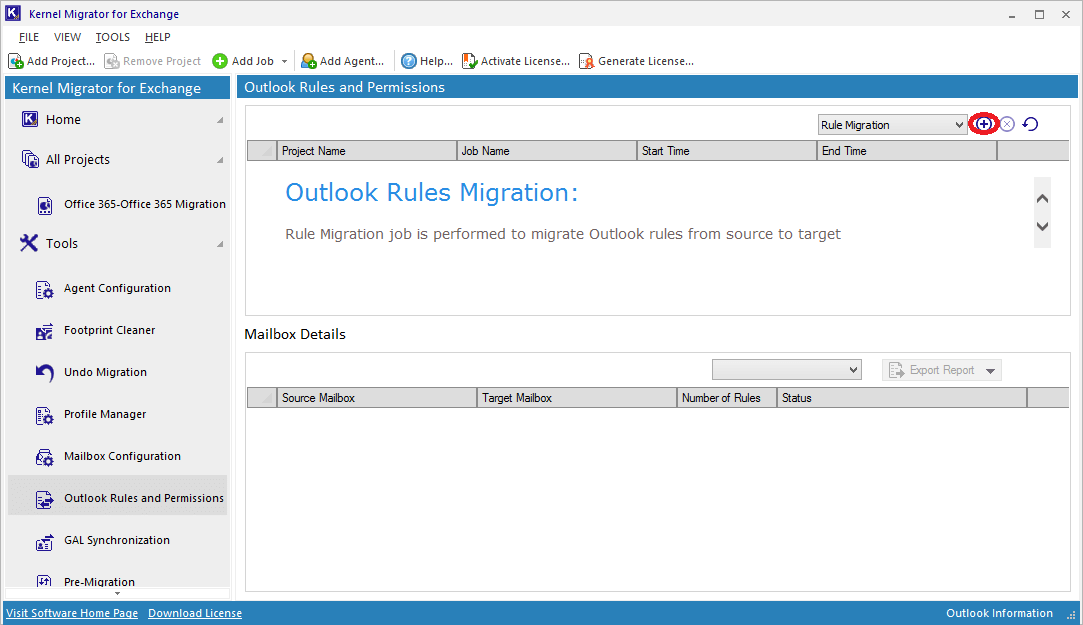
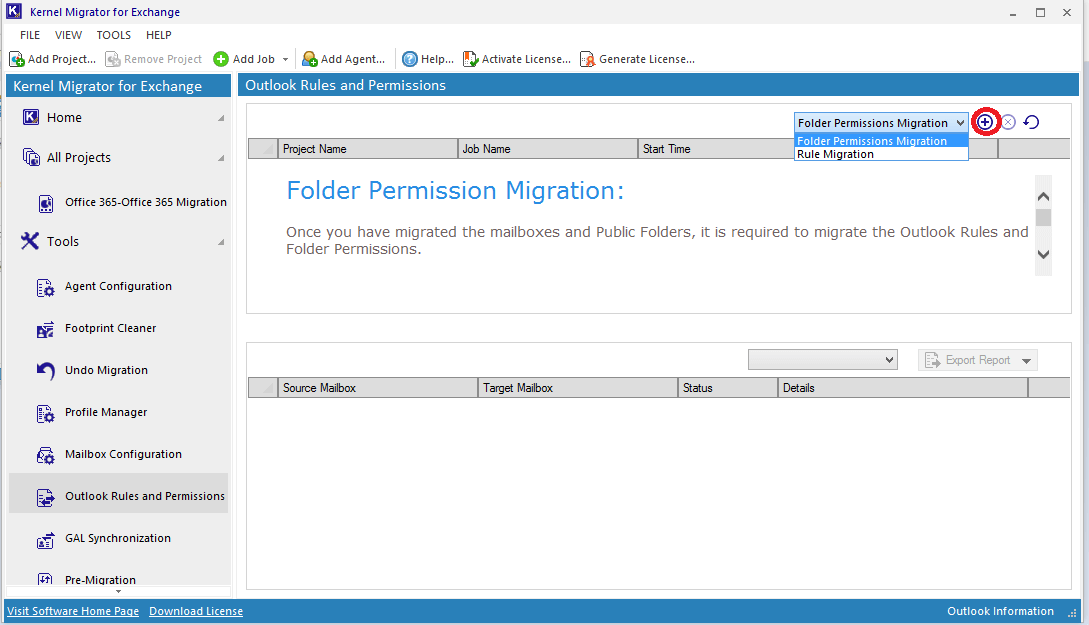
- Click Outlook Rules and Permissions option from the left panel. Select Rules Migration and click + to add a Rules Migration job.
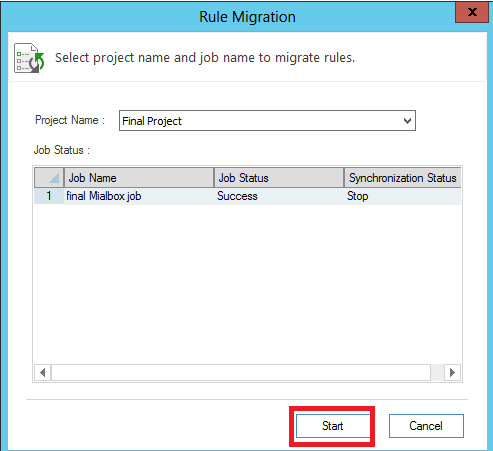
- Select your Project Name from the drop-down list for which Rules Migration job is to be created. Then, click Start.
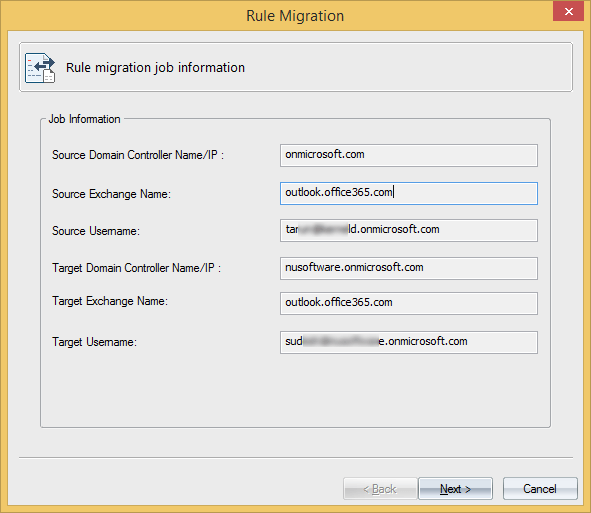
- A wizard with Rule migration job information is displayed. Click Next to continue.
- In the next wizard, the mailboxes are already mapped as you have mapped while adding the job. Also, there is no provision to change the mapping here.
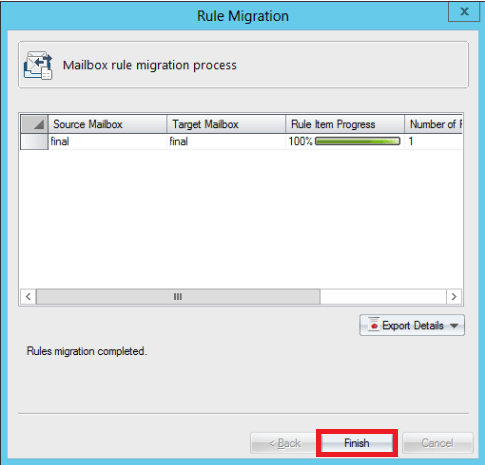
- Outlook Rules will be migrated from Source Office 365 account to Target Office 365 account successfully. You can see Export Details as well. Click Finish to complete the process
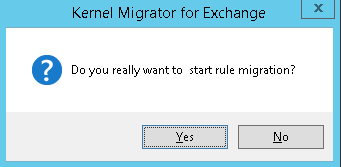
A dialogue box asking for confirmation will be displayed. To confirm, click Yes.
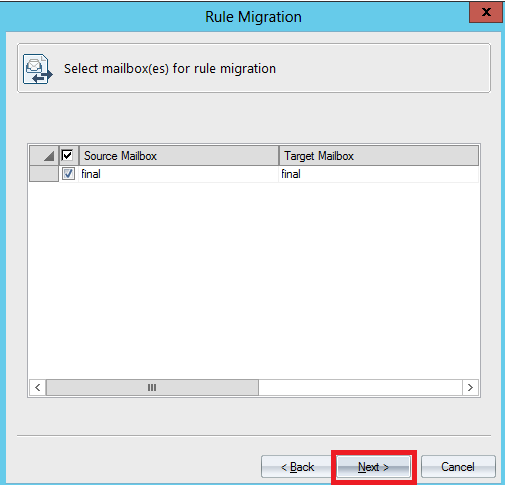
Select the desired mailboxes and click Next to start the Outlook Rules migration job.
Hence, Outlook Rules are migrated from Source to Target successfully.
Outlook Folder Permissions Migration
Similarly, you can migrate Outlook folder permissions from your Source Office 365 mailboxes to Target Office 365 mailboxes easily with this software.
Just select Folder Permissions Migration from the drop-down. Click + button to add the folder permissions migration job.
All steps are same, except the one that Source and Target mailboxes mapping is allowed here. You can map mailboxes for folder permissions as per your requirements. Mapping can be performed through user name, user SID or through CSV.
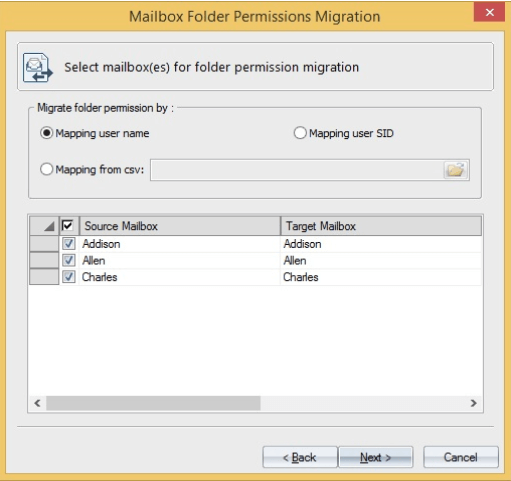
After mapping, click Next and your folder permissions are migrated successfully in minimal time.
Report Console
Through Report Console, you can view detailed status of all job created by Kernel Migrator for Exchange.
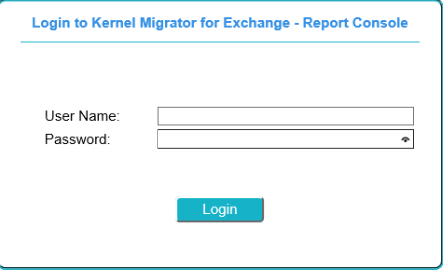
You can see the report by launching a web browser and visiting the URLs https://localhost/LEMRV/login.aspx and https:///LEMRV/login.aspx (if accessing from any other system)
Note: You cannot open Report Console on system where Exchange Server is installed.
Enter the URL and a login page appears. Enter the login details User name and password set during Report Console Settings in first part of the guide.
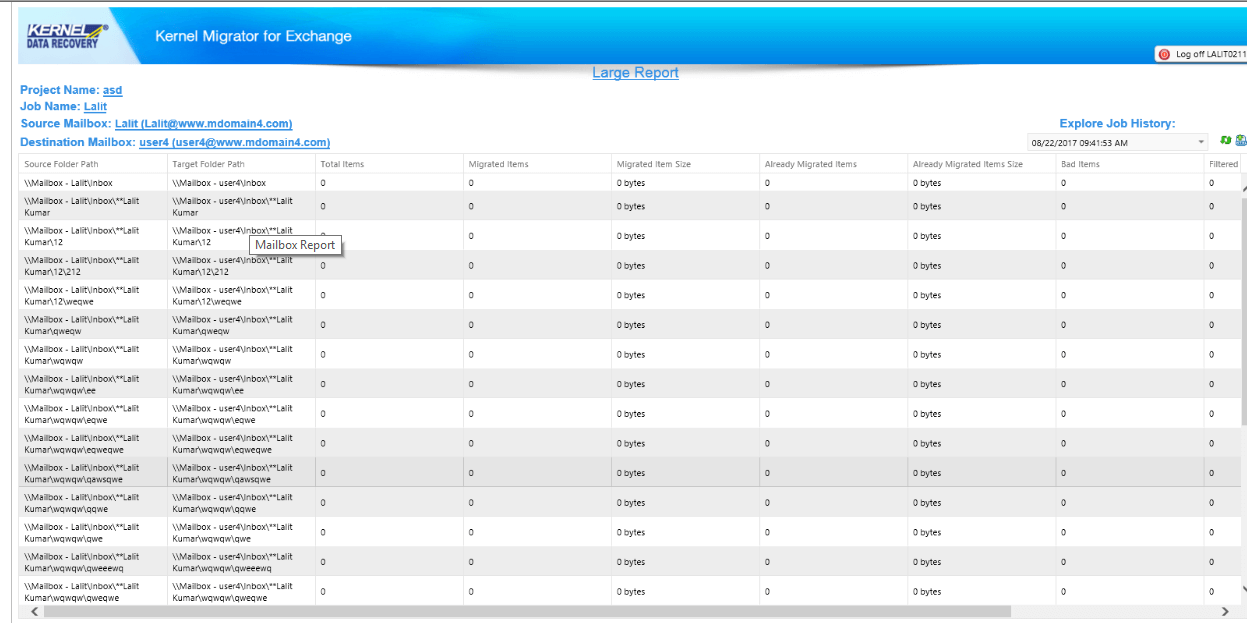
You can see Project Details, Small Report and Large Report as per your desire. Here is an example of Large Report for the users.
Conclusion
With Kernel Migrator for Exchange, all types of migration i.e. Exchange and Office 365 migration, Exchange and Exchange migration, Office 365 and Office 365 migration in all domains becomes an easy task.
Exchange Migrator software helps users save their time and pre-plan the migration with Pre-migration Analysis facilities. It also facilitates advanced settings. Migration of Office 365 mailboxes and public folders to other Office 365 account can be performed in easy, non-complex steps. While the migration procedure is smooth, the users have the privilege for migrating Outlook rules, Outlook folder permissions and view complete job reports through advanced Report Console online.
Having all such features in a single tool with simple executional steps makes Kernel Migrator for Exchange a unique, attractive tool for the users.
The post Step by Step Guide for Migrating Office 365 to Office 365 Tenant Part-3 appeared first on Kernel Data Recovery.